Fishtail Braid Hairstyles: The Two-Strand Technique Most People Get Wrong
Most people assume a fishtail braid is just a fancier French braid — three strands, extra effort, same basic idea. It isn’t. A fishtail braid uses only two sections, and the whole pattern comes from repeatedly taking a thin strand off the outer edge of one section and crossing it into the other. That single difference is why fishtail braids look so intricate (dozens of thin crossings instead of a few thick ones) while actually being more forgiving to learn — there’s no three-way juggling to keep track of, just two sections and a rhythm. Once your hands find that rhythm, a fishtail is often faster to braid than a French braid, even though it looks like it took twice as long.
Below are 14 fishtail styles that actually use the two-strand technique — not French or Dutch braids wearing a fishtail label — each with the specific detail that makes it work.
Before You Start
Hair length isn’t the gatekeeper here — texture is. Fishtail braids grip better on hair with a little texture: second-day hair, a light salt spray, or a rough-dry finish all help the thin strands catch and hold instead of slipping loose. Freshly washed, silky-smooth hair is actually the hardest texture to fishtail — the braid looks great for ten minutes and then starts sliding apart. If you’ve just washed, a light texturizing spray at the roots and mid-lengths before you start will save you the frustration.
The second decision: strand size. Thin strands (a finger’s width or less) give you that classic, densely woven fishtail look but take longer and show every mistake. Thicker strands braid faster and are more forgiving for beginners, but the pattern reads chunkier and less refined. Start thick while you’re learning the motion, then size down once your tension is consistent.
1. Classic Loose Fishtail
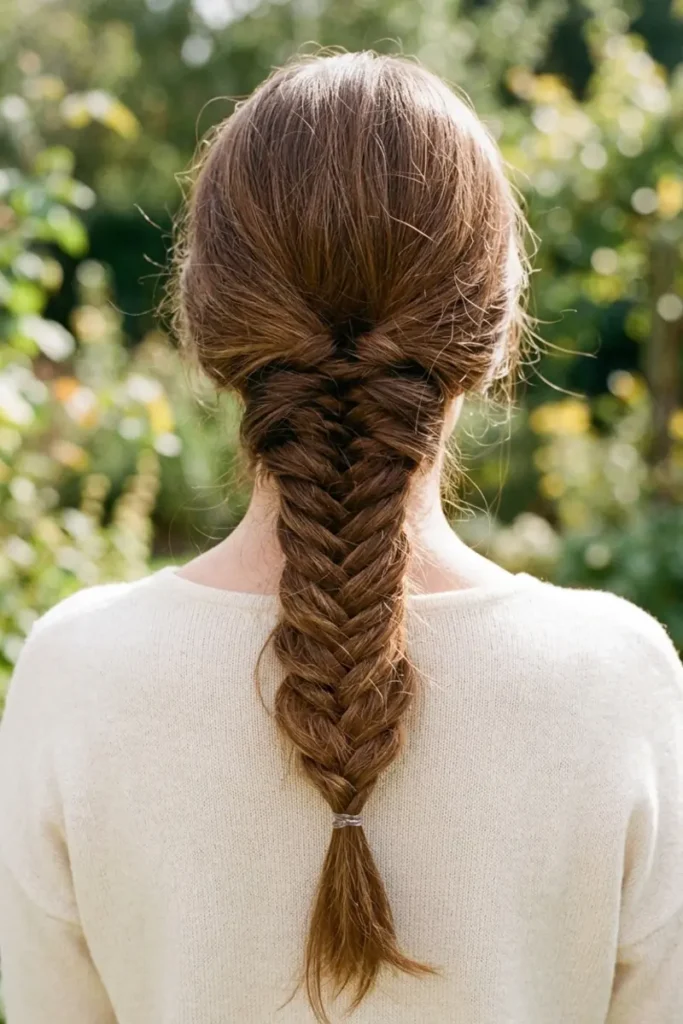
The baseline version, and worth mastering first: two sections, thin strands crossed from the outside in, tension kept loose enough that the braid can be gently pulled apart at the end. That pulling-apart step is what turns a tight, narrow plait into the soft, wide fishtail look most people picture — skip it and the braid looks noticeably smaller and tighter than expected.
2. Dutch Fishtail
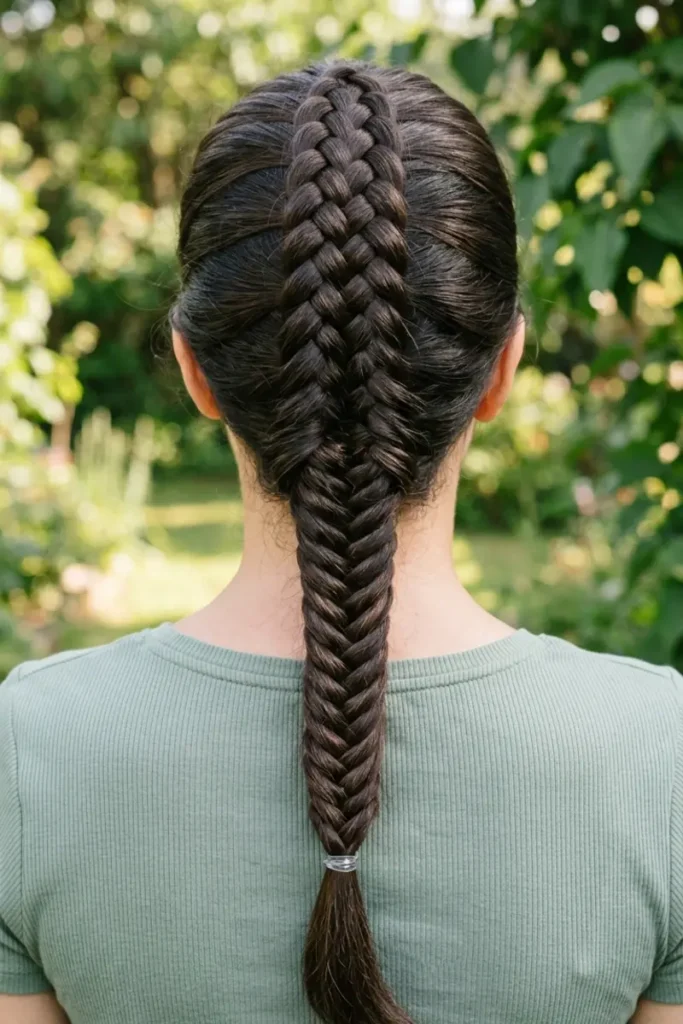
Instead of crossing strands over the top of each section, you cross them underneath. The braid pattern sits raised on top of the hair rather than flat against it, giving noticeably more dimension and a slightly chunkier finish. It’s the better choice on hair with layers, since the underneath-crossing hides shorter face-framing pieces that a standard fishtail would let slip out.
3. Fishtail Ponytail
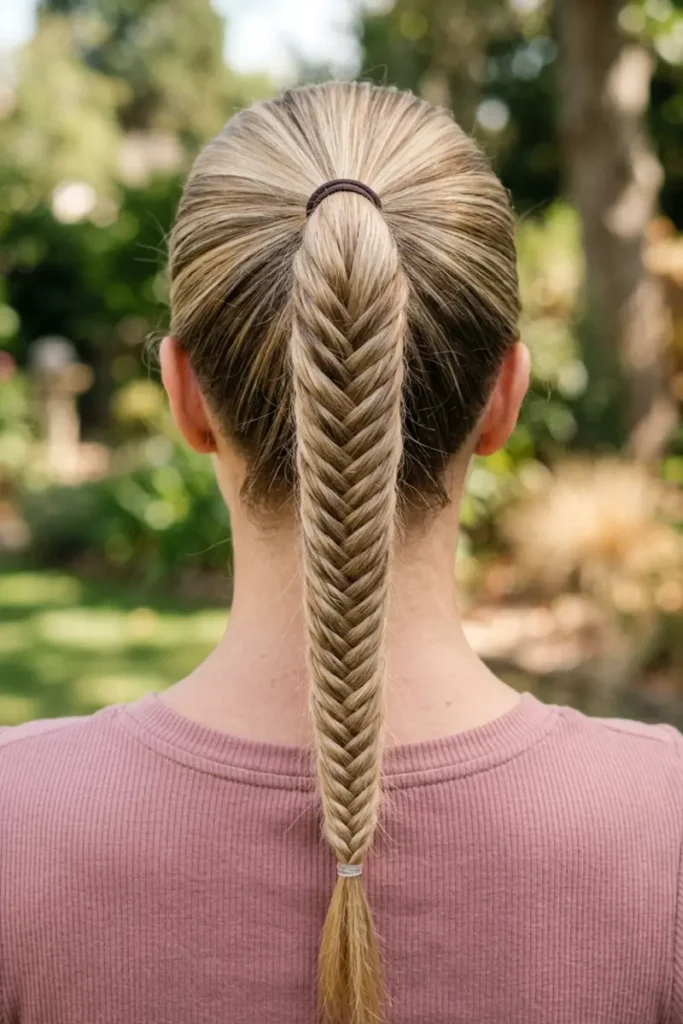
Gather hair into a ponytail first, then fishtail the tail instead of loose hair. Braiding a contained ponytail is noticeably easier to keep even than braiding directly off the scalp, which makes this the version worth practicing on if the classic loose fishtail keeps coming out lopsided.
4. Fishtail Crown Braid
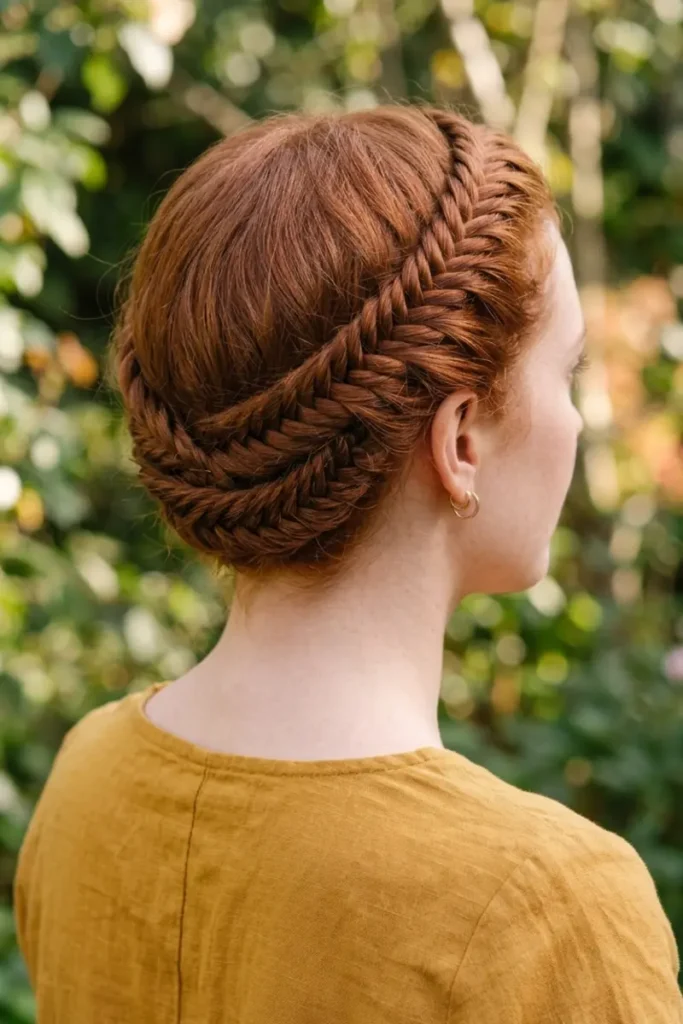
A fishtail braided around the hairline instead of down the back, pinned to sit like a halo. Because the crown braid follows a curve rather than a straight line, each crossing needs slightly uneven tension — pull a touch tighter on the inside of the curve, looser on the outside — or the braid will visibly bow away from the scalp instead of hugging it.
5. Side Fishtail
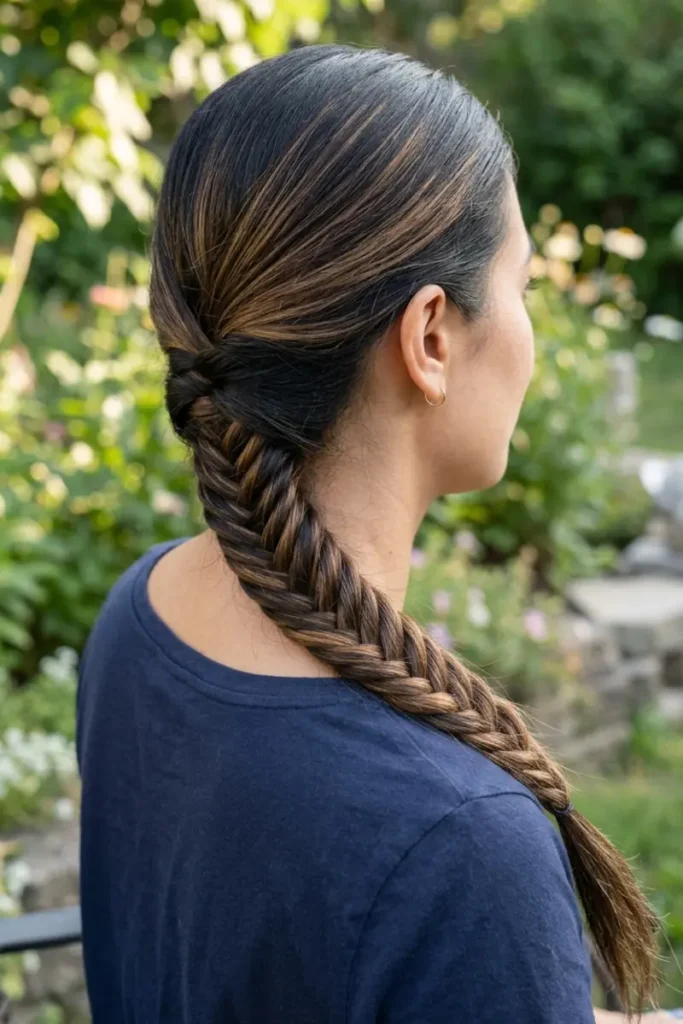
The whole braid is gathered to sweep over one shoulder rather than centered down the back. Start the braid slightly off-center at the nape, angling the first few crossings toward the shoulder you want it to fall over — starting centered and just draping it sideways afterward tends to leave a visible kink where the direction changes.
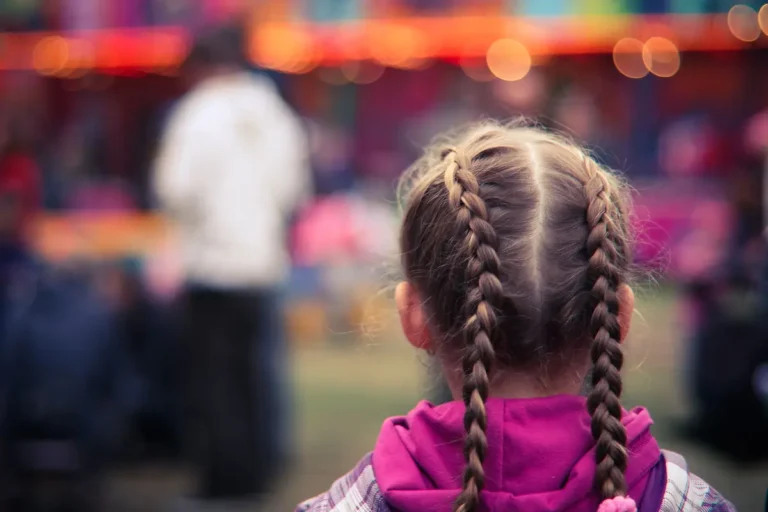
6. Twin Fishtail Braids
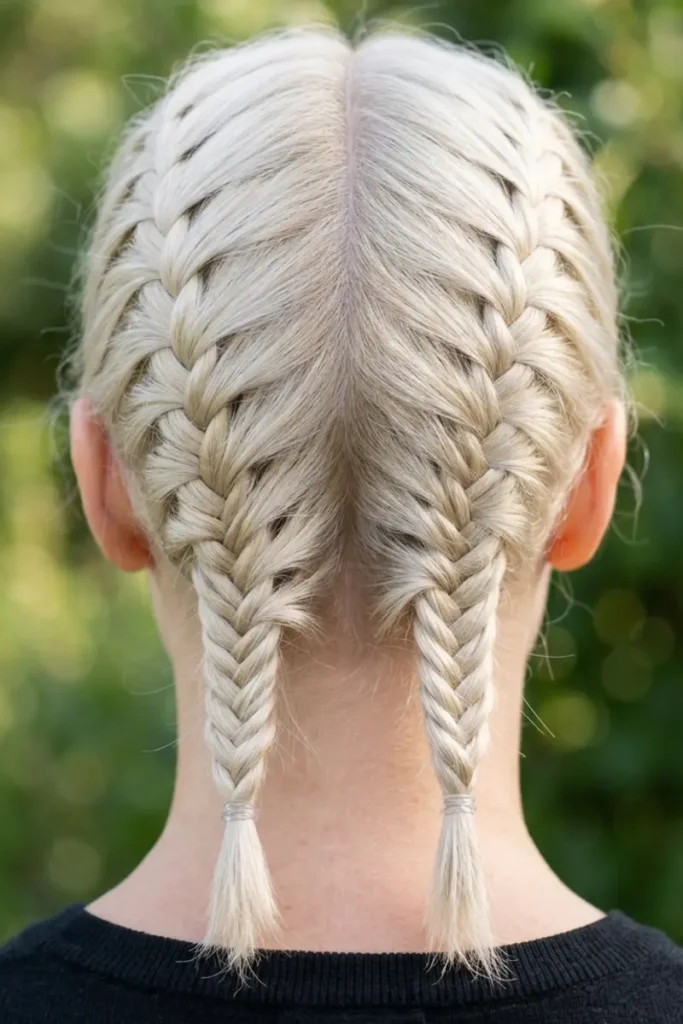
Two fishtails instead of one, parted from the center or side. Each braid needs to use noticeably thinner strands than a single fishtail would — two thick fishtails read as bulky and can overwhelm a narrower face shape, while two thin ones stay balanced and can be tied off closer to the head for a cleaner symmetrical finish.
7. Fishtail Braid Bun
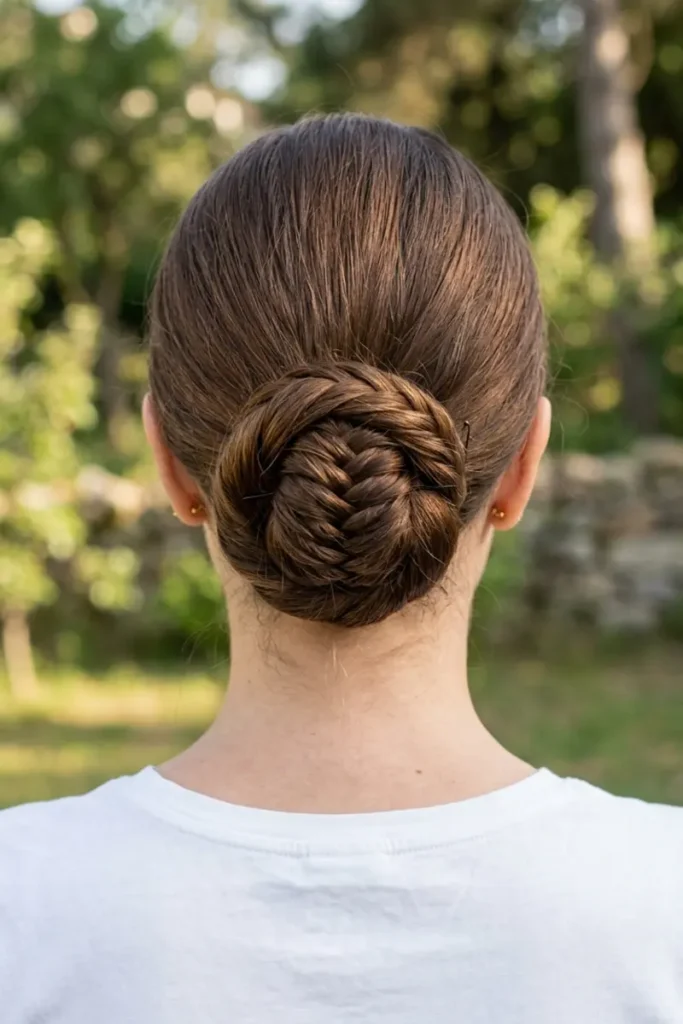
The braid gets coiled into a bun rather than left hanging. A tightly woven, thin-strand fishtail coils into a smoother, more compact bun; a loose, thick-strand fishtail coils into a textured, undone-looking one — decide on the finished bun style before you braid, since re-braiding a coiled bun to fix the texture is much harder than adjusting it beforehand.
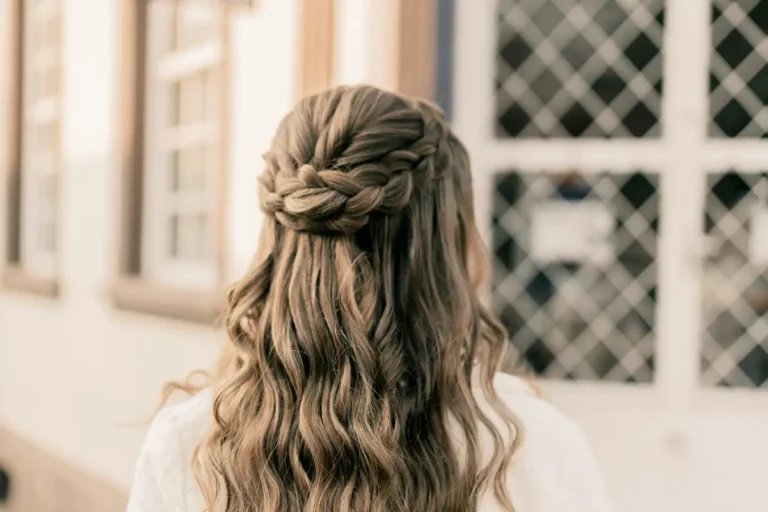
8. Half-Up Fishtail
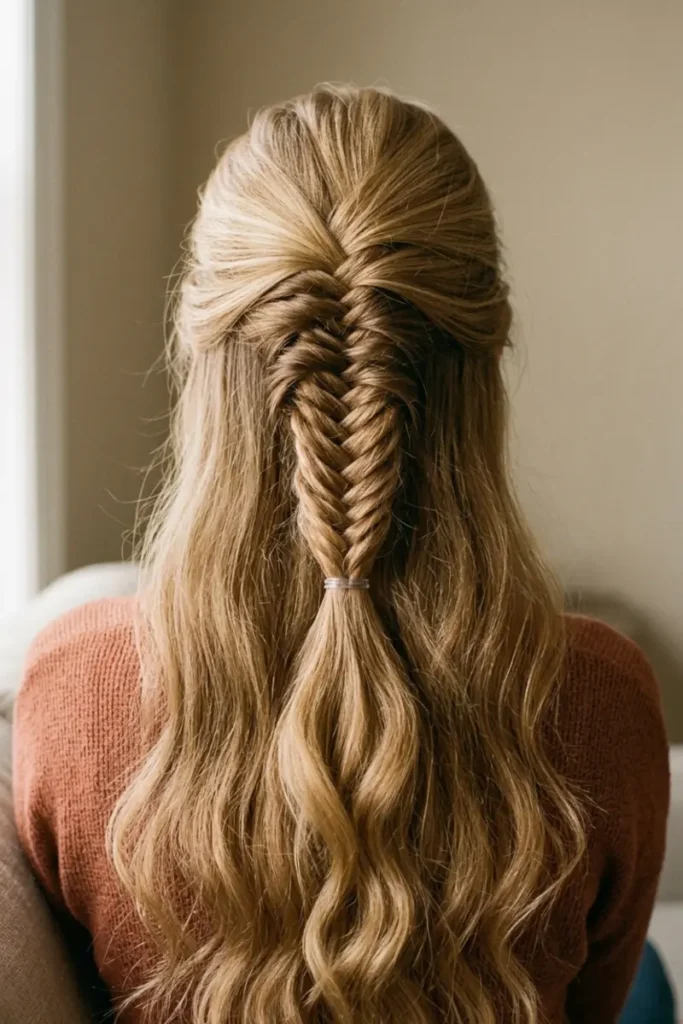
Only the crown section is braided, with the rest left down. Because there’s less hair in the braided section, it holds much less tension than a full-head fishtail — expect to secure it with a small elastic partway through if it starts loosening, rather than relying on the braid alone to stay tight.
9. Fishtail Pull-Through Braid
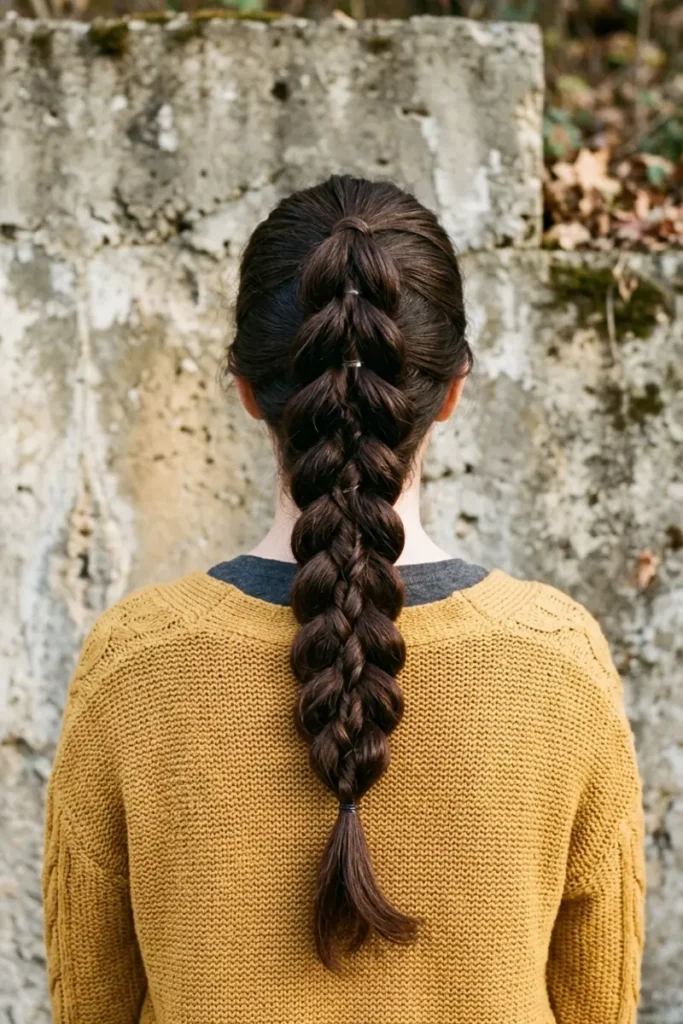
A different technique that only looks like a fishtail: instead of continuous two-strand crossing, you alternate two ponytails and repeatedly pull a section from one through the middle of the other. It produces a similar herringbone texture with far less finger dexterity required, which makes it a genuinely easier alternative for anyone who’s struggled with the true two-strand crossing motion.
10. Fishtail with Accessories
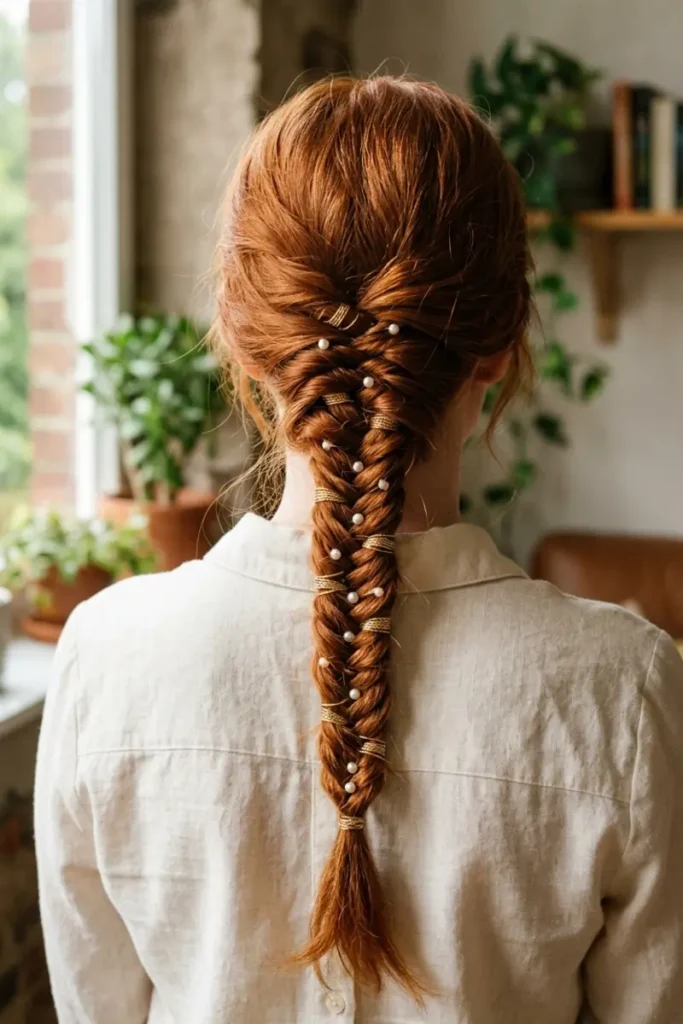
Thin gold cuffs, small clips, or ribbon woven into the strands as you braid. Anything added should be secured while braiding, not clipped on afterward — a fishtail’s tight weave doesn’t leave room to slide an accessory in once the braid is finished without disturbing the strands around it.
11. Undone Editorial Fishtail
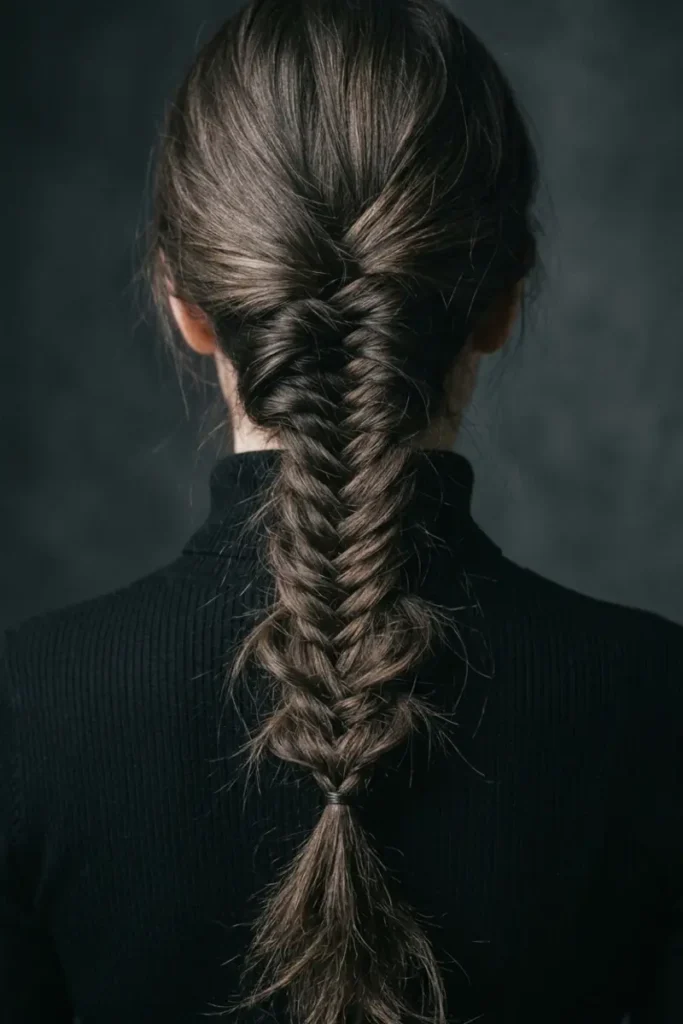
A deliberately loosened, slightly messy finish achieved by braiding tighter than you want the final look, then pulling strands apart from both edges once it’s tied off — not by braiding loosely from the start. Braiding loosely from the beginning tends to unravel rather than just loosen, since a fishtail’s structure relies on some initial tension to hold the crossings in place.
12. Fishtail Faux Hawk
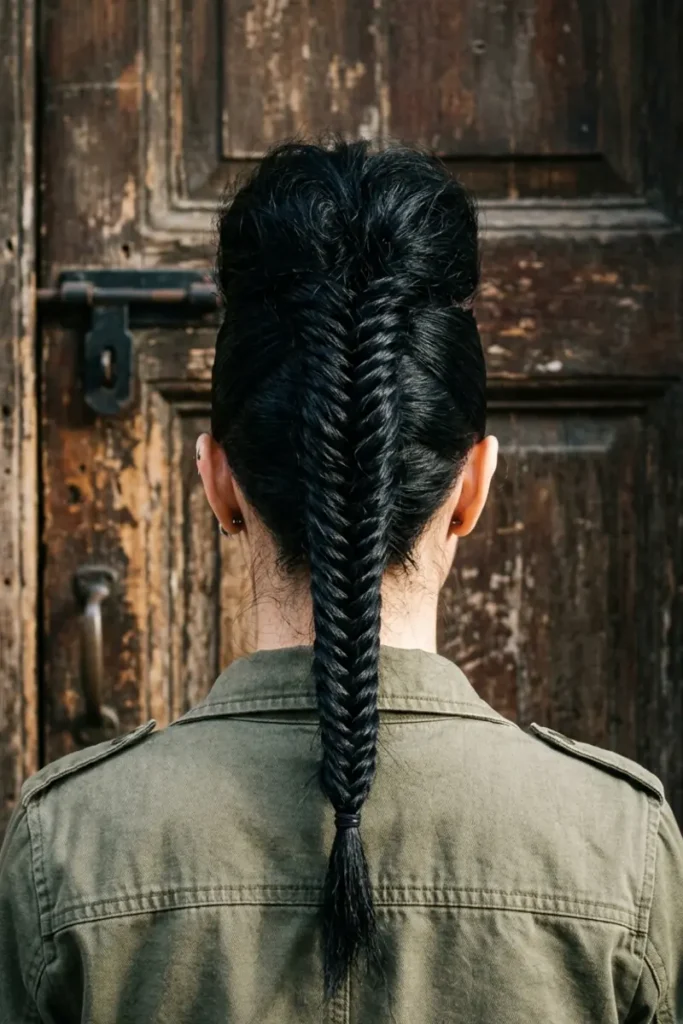
Hair is teased and pinned upward at the crown before the fishtail braid runs down the center back, creating a raised strip along the top. The braid itself is standard technique, but it needs to start from a firmly pinned base — if the teased section isn’t secured before braiding starts, the height collapses within the first few crossings.
13. Fishtail on Short Hair
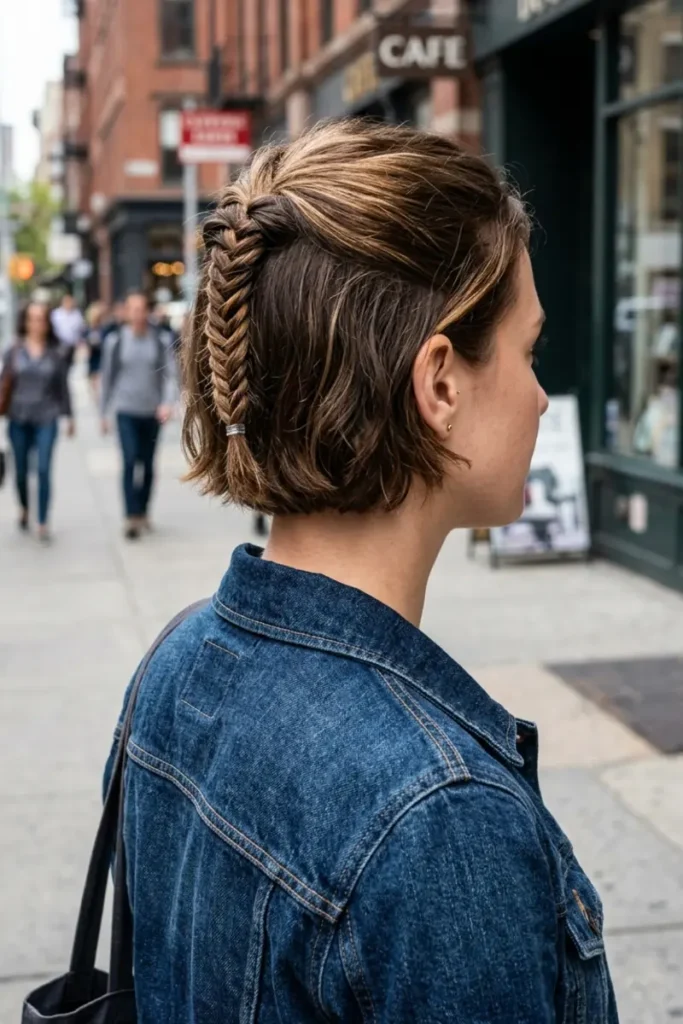
Fishtail braids work on hair as short as chin-length, which most tutorials skip. The trick is starting the braid higher, closer to the crown, so there’s enough length left to actually cross strands before running out of hair — starting at the nape on short hair usually means the braid falls apart within an inch.
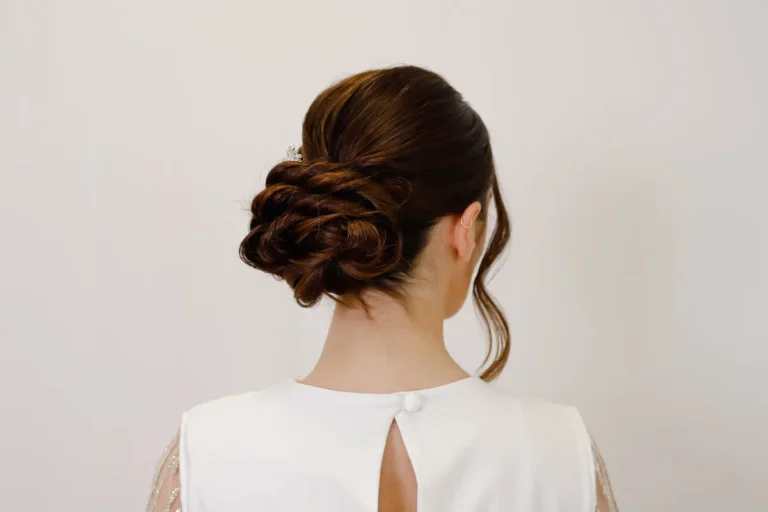
14. Bridal Fishtail Updo
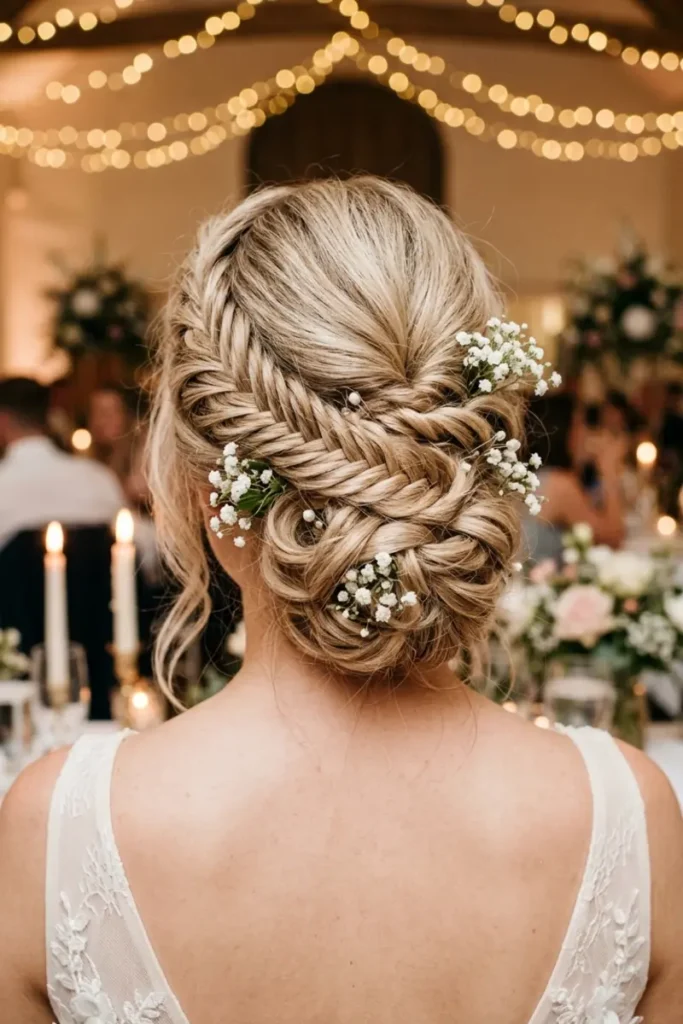
A fishtail braid coiled, pinned, and layered with smaller braided or twisted sections around it for a fuller, more formal updo. Because this style needs to hold for hours, use thinner strands than usual and pin the coil in at least three points rather than one — a single anchor point lets the whole coil rotate loose as the day goes on.
FAQ
Is a fishtail braid easier than a French braid?
For most people, yes, once the motion clicks. You’re only tracking two sections instead of three, and there’s no need to keep adding new hair from the sides as you go (unless you’re doing a fishtail crown or headband version). The trade-off is that a fishtail takes more individual crossings to complete, so it can feel slower at first even though each crossing itself is simpler.
Does a fishtail braid work on short hair?
Yes — chin-length hair is usually the minimum. Start the braid higher up, near the crown, rather than at the nape, so there’s enough remaining length to cross strands before you run out of hair.
How long does a fishtail braid last?
On second-day or textured hair, a well-secured fishtail can hold for one to two days without needing a re-braid. On freshly washed, smooth hair, expect it to loosen within a few hours — a texturizing spray before braiding will roughly double how long it holds.
What’s the actual difference between a fishtail and a French braid?
A French braid uses three strands and adds new hair from the sides as you braid down. A fishtail uses two strands, no added hair, and the pattern comes from repeatedly moving thin outer pieces from one section to the other. They can look similar from a distance, but the underlying technique — and the amount of hair used per crossing — is completely different.
Can you fishtail braid fine or thin hair?
Yes, but use thicker strands per crossing than you would on thick hair. Very thin strands on fine hair tend to slip out before the braid is finished, so fewer, chunkier crossings hold better than the classic dense, thin-strand look.
Closing
A fishtail braid rewards patience with the two-strand motion more than it rewards hair length or thickness — which is exactly why it works on hair types that a lot of other braids don’t. If you’ve already got the three-strand rhythm down from our French Braid Hairstyles guide, the fishtail’s two-strand crossing will likely feel like a smaller jump than you’d expect — the biggest adjustment is just remembering there’s no third section to keep track of.