10 Easy Braided Hairstyles for Everyday Wear
Braids are the one hairstyle that works whether you have five minutes before work or an hour before a wedding. They hold all day, they hide unwashed roots, and they look intentional even when you’ve rushed them. Below are ten braided styles worth learning, roughly ordered from the quickest to the most involved, with notes on which hair length and texture each one actually suits.
1. Classic Three-Strand Braid
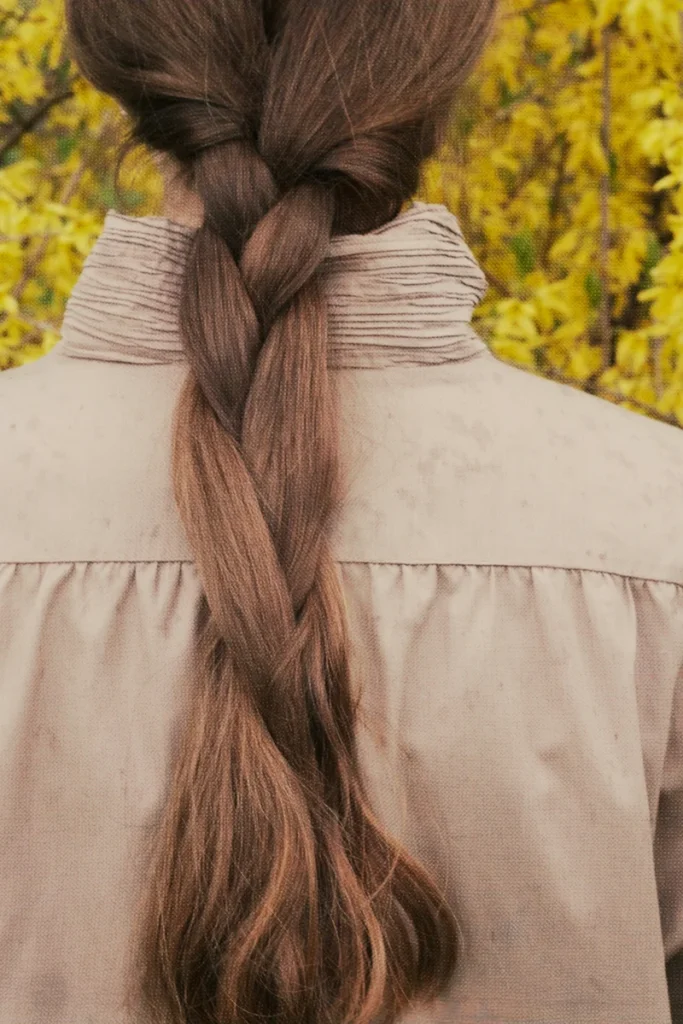
If you only ever learn one braid, make it this one. Split damp hair into three even sections, then cross the outer sections over the middle one, alternating sides until you reach the ends. The trick most people miss is tension: keep it firm near the crown and looser toward the bottom, so the braid sits flat instead of sticking out. This works on almost any length past the shoulders, and it holds better on second-day hair than freshly washed hair, which tends to slip.
2. Side Braid

Sweeping a braid over one shoulder softens the whole look, and it takes no extra skill — it’s the same three-strand braid, just started off-centre. Gather your hair to one side at the nape, braid downward, and secure it with a clear elastic. Because the weight sits on one side, this style tends to loosen faster than a centre braid, so pin the base with a bobby pin if you’re wearing it all day. It’s especially flattering if you want to draw attention away from one side of your face.
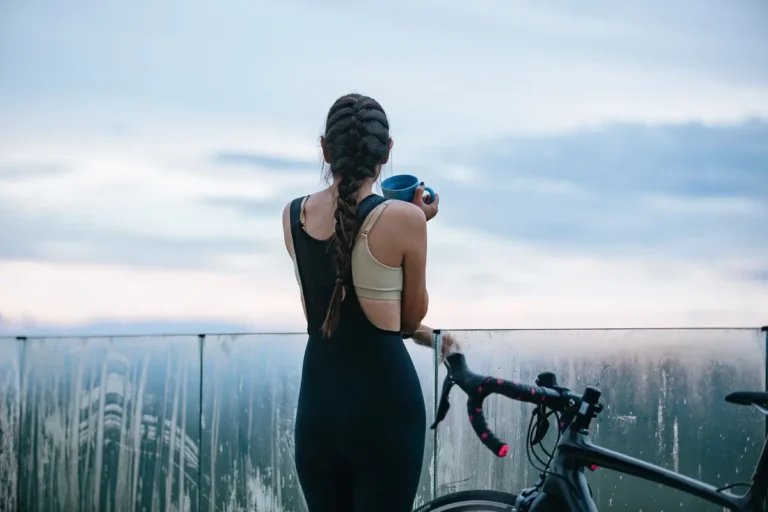
3. Braided Ponytail
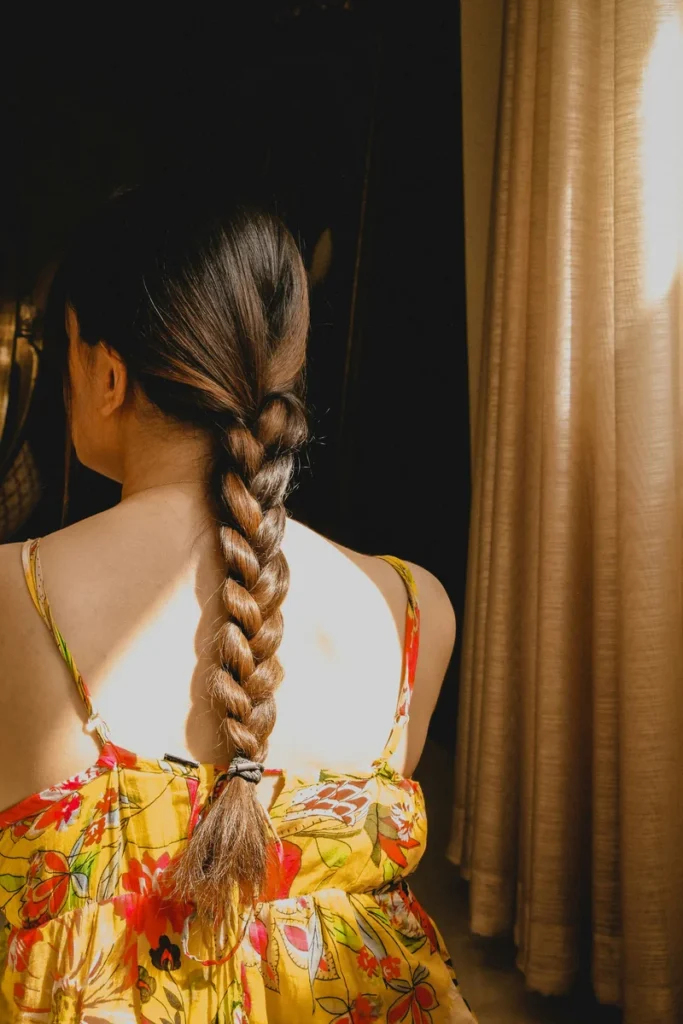
This is the most practical style here for anyone active — the ponytail keeps hair off your neck, and braiding the tail stops it whipping around. Tie a ponytail wherever you like it (higher for a lifted look, lower for something more relaxed), then braid the tail and secure the end. For extra polish, wrap a thin section of hair around the top elastic to hide it. The whole thing takes under two minutes and survives a gym session.
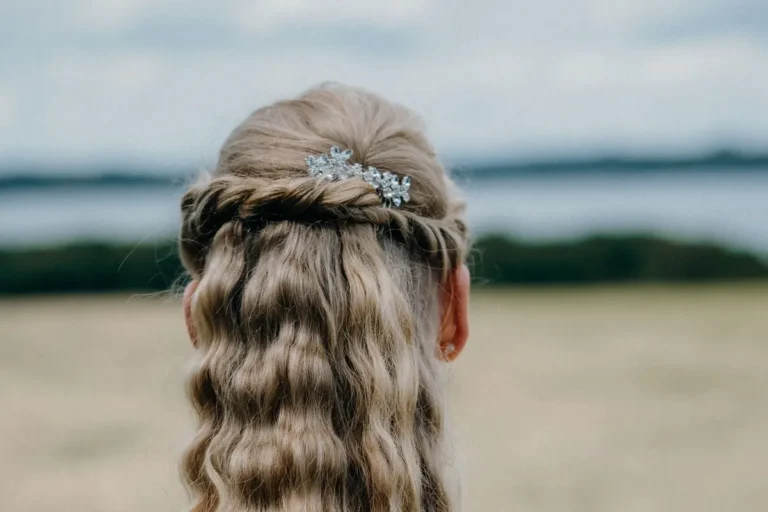
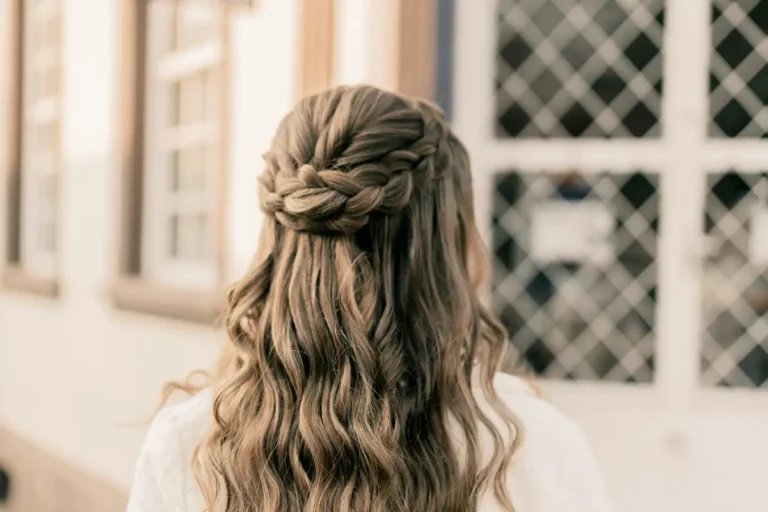
4. Half-Up Braid
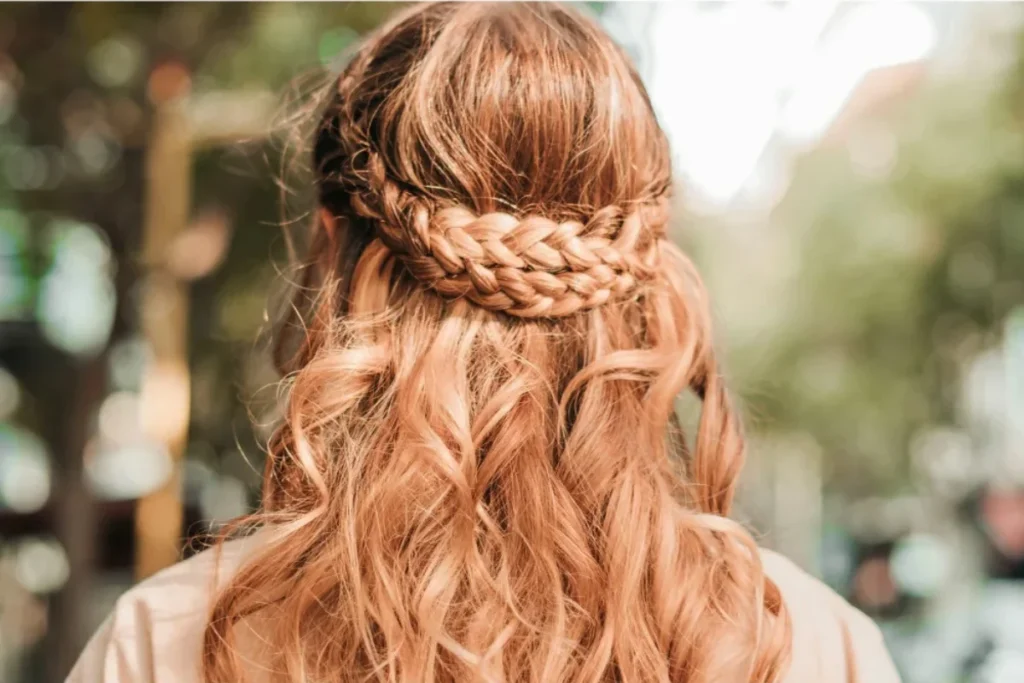
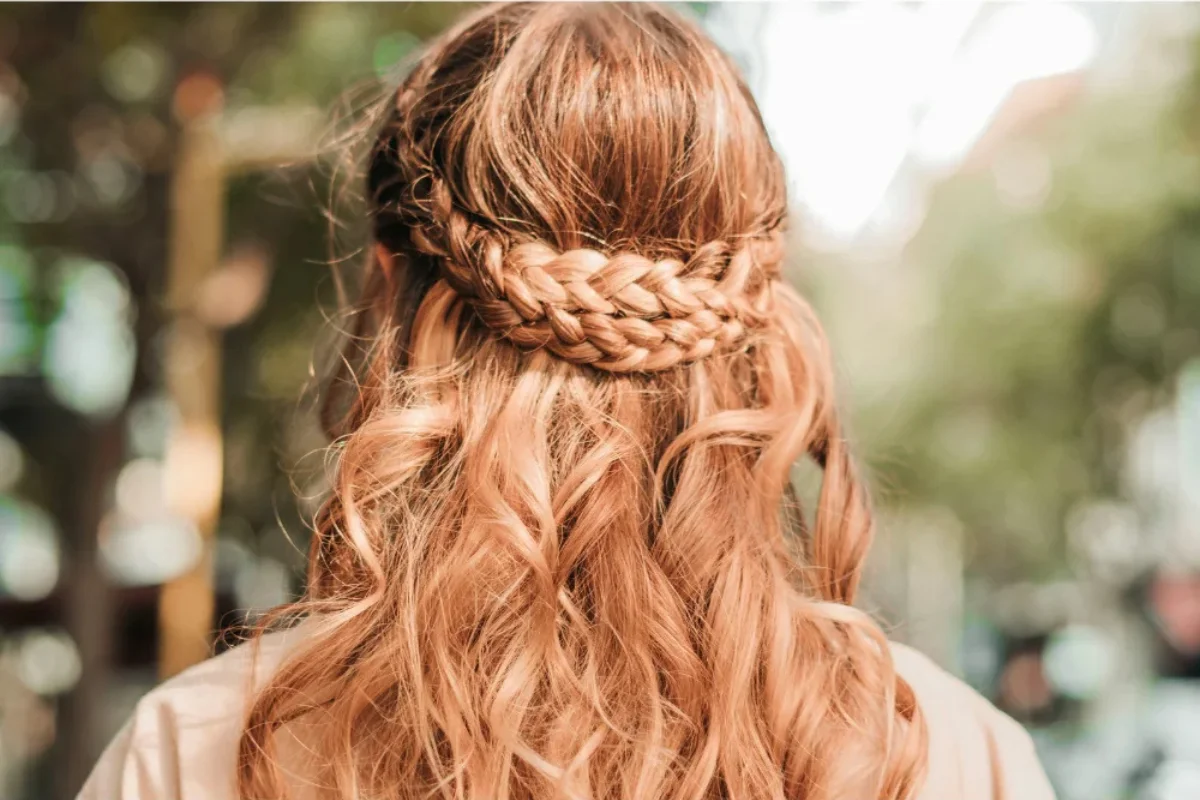
Take the top third of your hair, braid just that section, and pin it at the back — the rest stays down. It’s the best option when you want your hair out of your face but don’t want to commit to a full updo, and it photographs well because you keep the movement of loose hair underneath. This one is genuinely better on wavy or curly hair than on very straight hair, where the loose section can look flat next to the braid.
5. French Braid
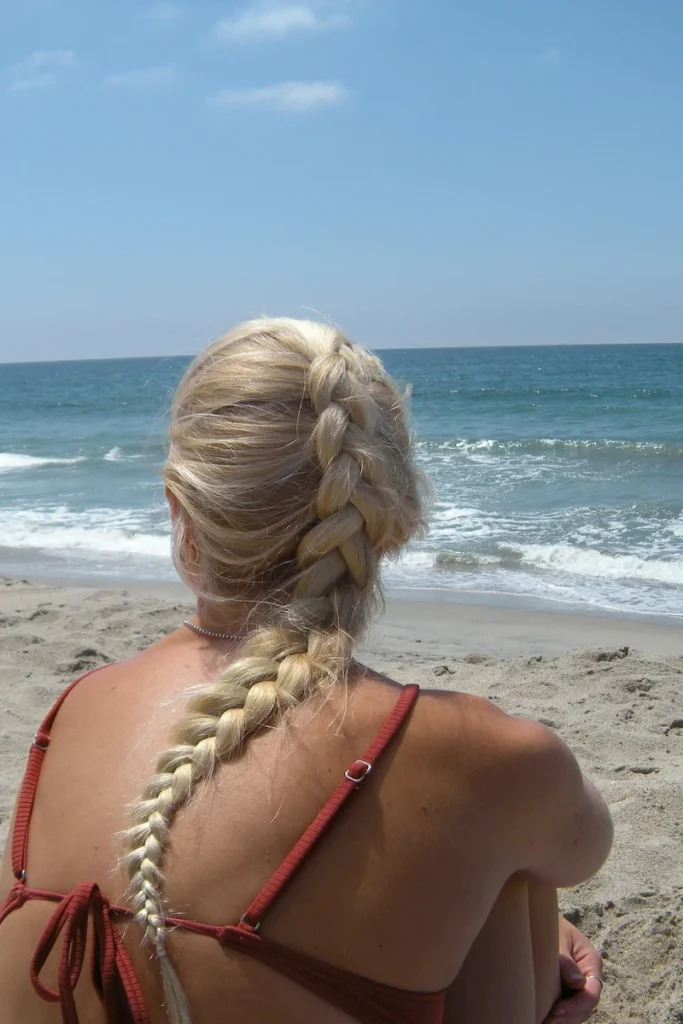
A French braid starts at the crown and picks up new hair as it travels down, which is what makes it sit close to the head instead of hanging free. Begin with a small section at the top, and each time you cross a strand over, add a little hair from the side. Keep the added sections small and even — uneven pickups are the reason home French braids look bumpy. Because it’s anchored along its whole length, this is the braid to choose when you need something that genuinely won’t move for twelve hours.
Want to see more ways to wear this classic braid? Check out our full guide: 20 French Braid Hairstyles You Need to Try.
6. Dutch Braid
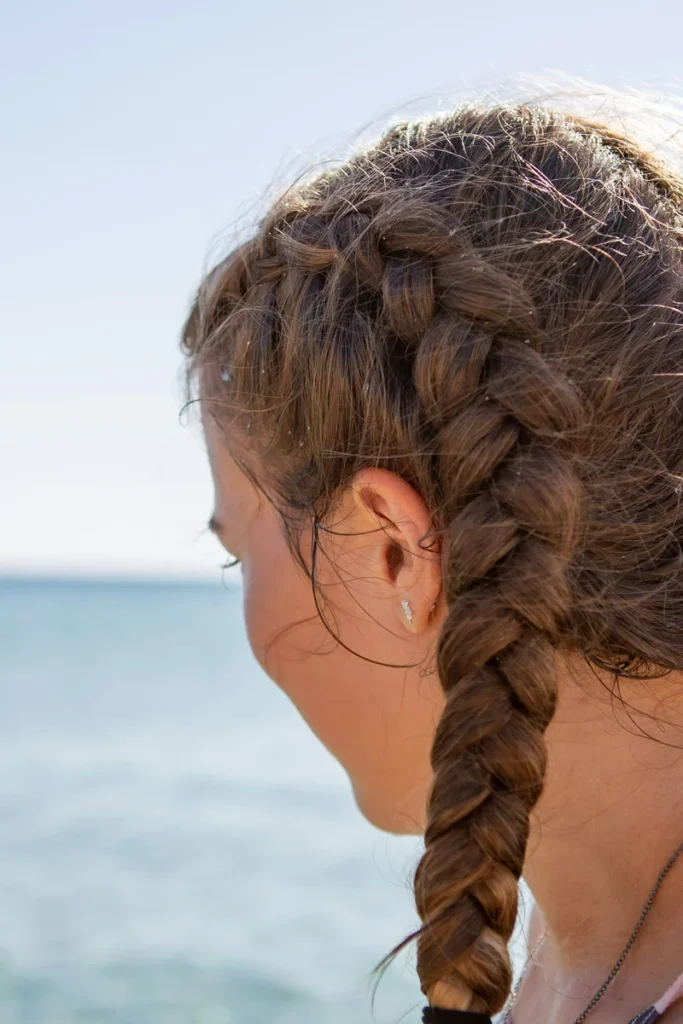
The Dutch braid is a French braid worked in reverse — instead of crossing strands over the middle, you cross them under. That single change lifts the braid so it sits on top of the hair rather than sinking into it, which is why it’s sometimes called a boxer braid. It reads as more structured and sporty than a French braid, and it’s the better choice if your hair is fine, because the raised weave makes the braid look thicker than it is.
7. Fishtail Braid
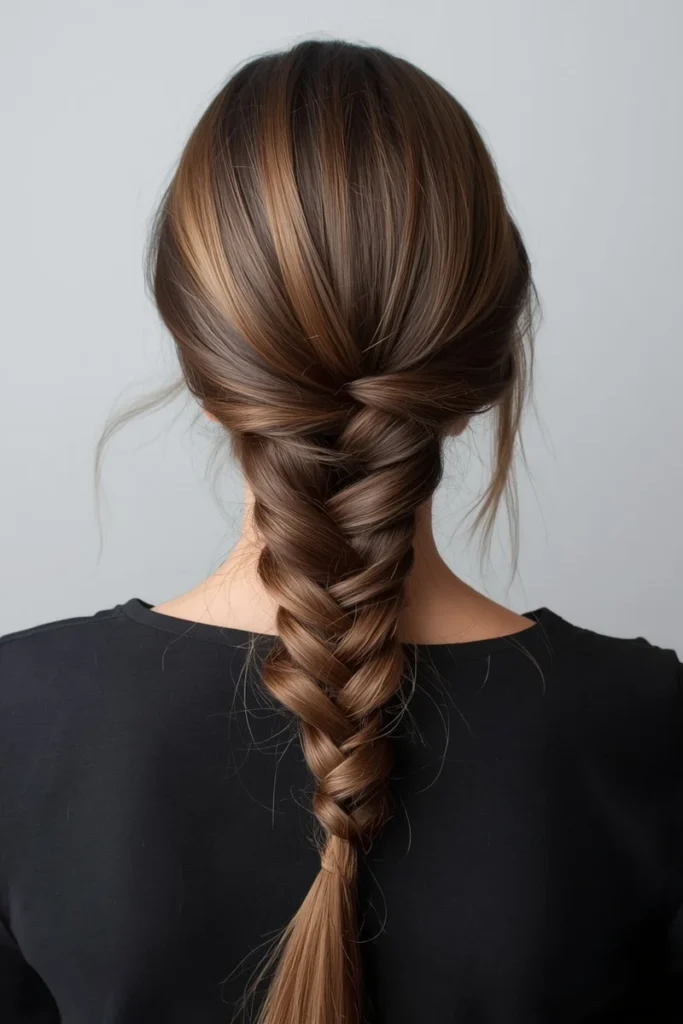
Fishtails look like the hardest braid on this list and are actually among the easiest, because you only work with two sections. Split your hair in half, take a thin strand from the outer edge of the left section and cross it into the right, then repeat from the other side. Keep the strands you pull thin and consistent — that’s what creates the fine herringbone pattern. Once you’ve secured the end, gently tug the outer loops to widen it. Texture spray helps here; very smooth hair makes the pattern hard to see.
8. Braided Bun
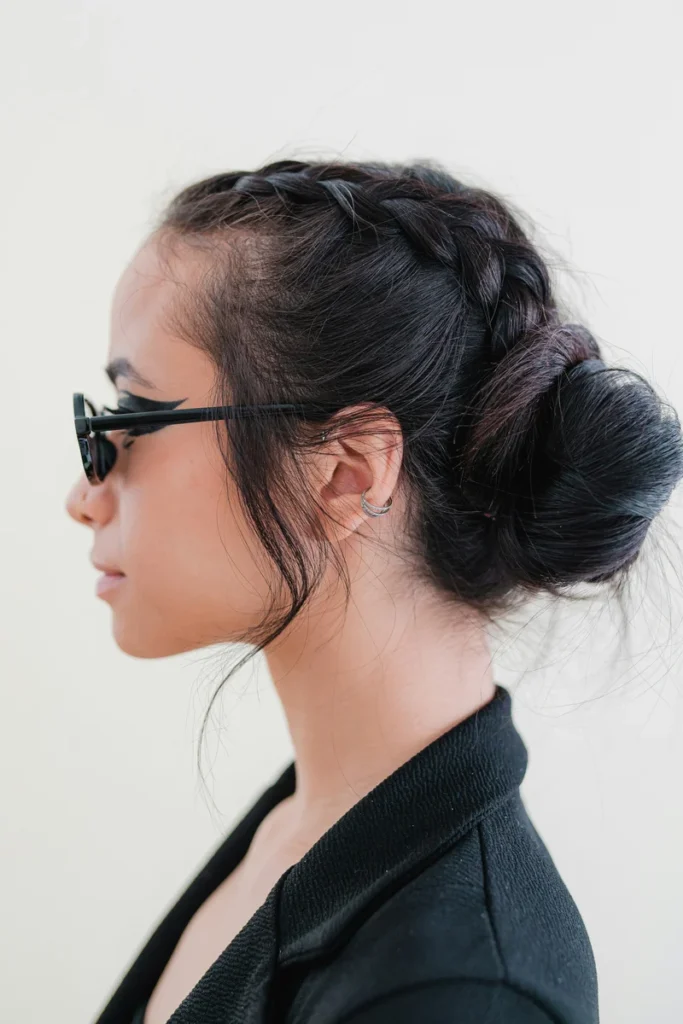
Braid your hair first, then coil the braid into a bun and pin it — that’s the whole method. Braiding before coiling gives the bun texture and grip, so it needs far fewer pins than a smooth bun and doesn’t slide out through the day. Place it low at the nape for something understated, or higher for a more formal shape. This is the style to reach for on day-three hair, because the braid disguises oil at the roots better than a sleek bun does.
9. Crown Braid
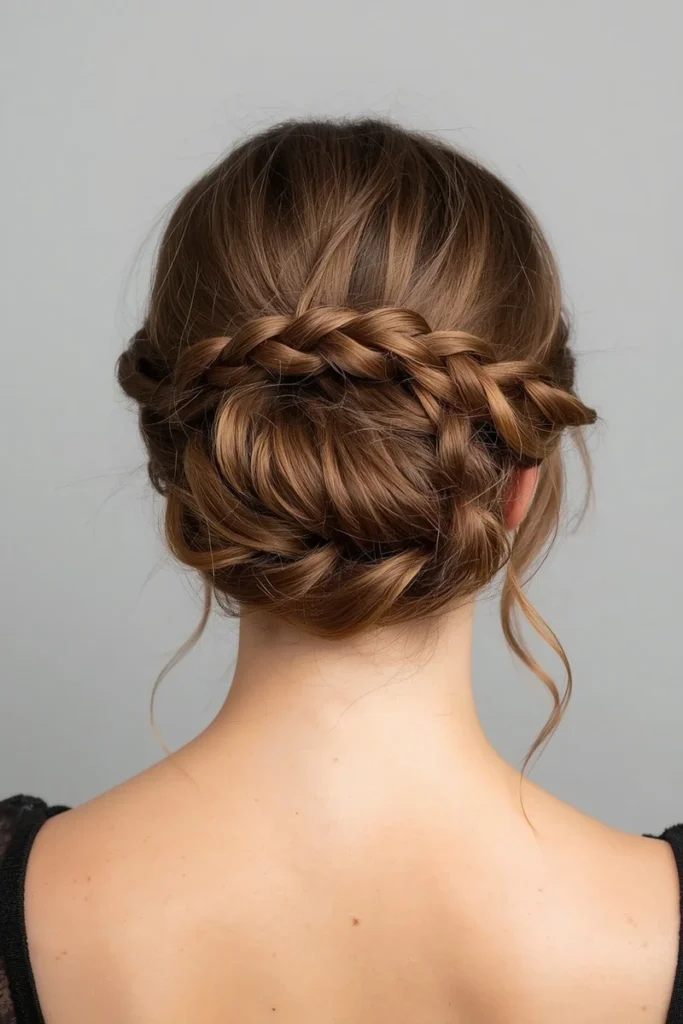
A crown braid wraps around the head so the braid itself becomes the outline of the style. Part your hair down the middle, braid each side, then bring each braid up and across the opposite side of your head, pinning as you go and tucking the ends underneath. Be honest about length before you attempt it: below mid-back is comfortable, shoulder-length usually isn’t, because the braids won’t reach far enough to meet. It’s the most formal look here and holds well enough for a full event.
If your hair doesn’t quite reach mid-back, don’t rule this style out yet — our 15 crown braid and halo braid styles guide has shorter-hair versions that skip the length requirement entirely.
10. Double Braids
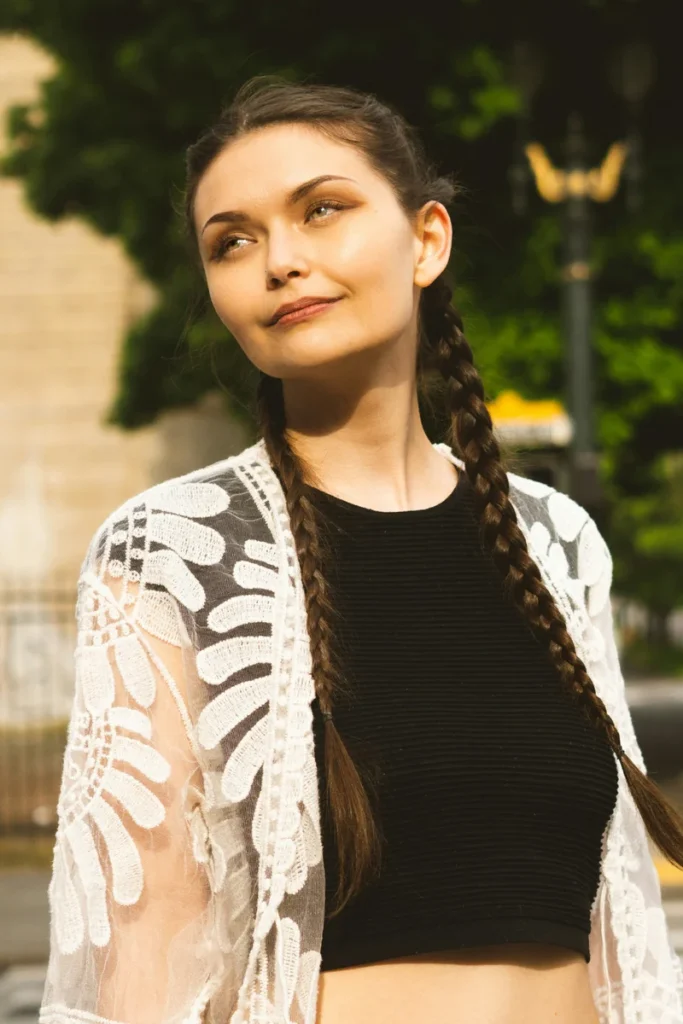
Two braids instead of one balances the weight evenly and, on thick hair, is far more comfortable to sleep in. Part cleanly down the center — a crooked part is the only thing that makes this style look sloppy — then braid each side separately, keeping the tension matched so both braids sit at the same height. Worn as plain three-strand braids it looks relaxed; worked as Dutch braids it looks sharper. It’s also the most reliable overnight braid if you want soft waves the next morning.
FAQ Section
How long do braided hairstyles last?
A simple braid holds for a day; a French or Dutch braid, because it’s anchored along its length, often looks fine into a second day. Sleeping in a silk scarf or on a silk pillowcase extends any braid considerably by cutting friction.
Do braids damage your hair?
Braiding itself doesn’t damage hair — tension does. If your scalp feels sore or you see small broken hairs along your hairline, the braid was too tight. Braid on dry or damp hair rather than soaking wet hair, which stretches and snaps more easily, and vary where you part to avoid stressing the same spot daily.
What length of hair do I need to braid?
Most of these work from shoulder length. Crown braids are the exception and need mid-back length or longer. If your hair is shorter, a half-up braid or a small front braid pinned back gives you the look without needing length.
Which braid is easiest for beginners?
The fishtail, despite appearances — it only uses two sections, so there’s less to keep track of than a three-strand braid. Start there before attempting a French braid, which requires adding hair as you go.
None of these need a stylist, and most need nothing more than an elastic and a few pins. Start with the classic braid until the hand movement is automatic, then work up to the French and Dutch versions, since almost every fancier braided style is a variation on those two.

2 Comments